How to Set Up a Backyard Wildlife Camera and Discover What Visits Your Yard at Night
A backyard wildlife camera, often called a trail camera, works on motion detection. It stays idle until something passes in front of it, then snaps photos or records short video clips. This setup is important because animals act differently when people are around.
Early models were built for research, but prices have dropped enough that setting one up at home is easy. Most cameras store footage on a memory card, and many now offer mobile access, so you can check clips without pulling the card every time.
Pick Features That Actually Improve What You Capture
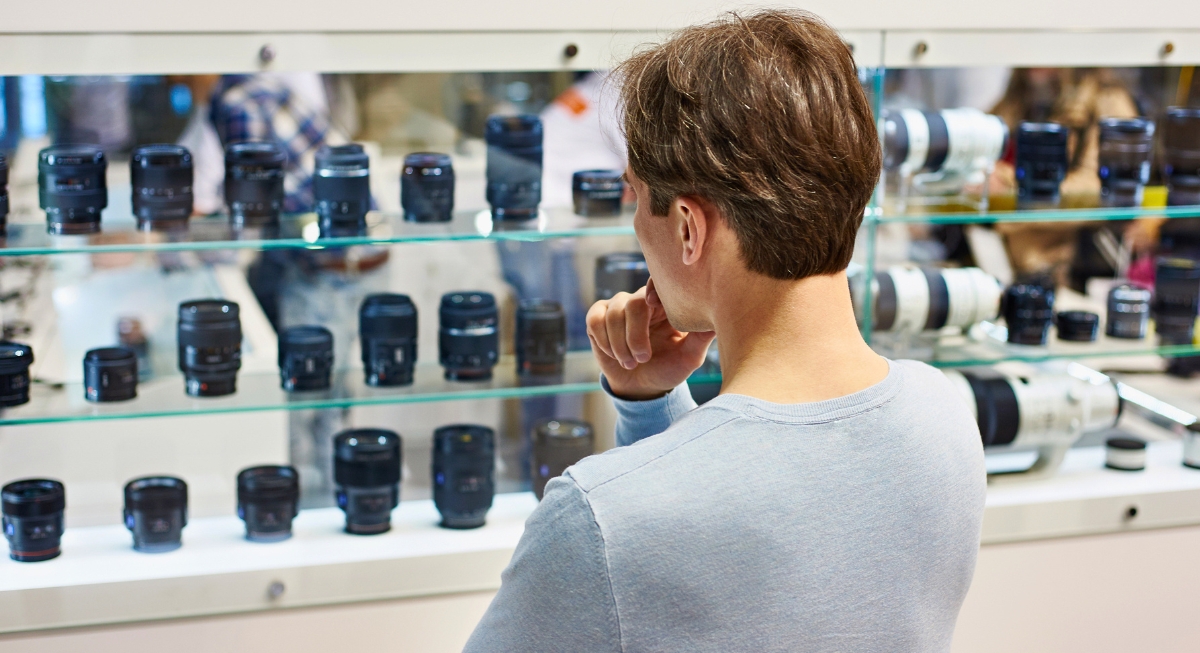
Image via Getty Images/sergeyryzhov
Not every spec makes a difference, so focus on the ones that affect real results. Night vision is essential since most animals are active after dark, and an infrared flash lets you record them without causing disturbance.
Trigger speed matters just as much. A faster camera starts recording as soon as movement is detected, while quick recovery time helps it stay ready for the next pass instead of missing it.
Placement Decides Everything
Where you put the camera is more vital than anything on the spec sheet. Animals tend to follow edges, gaps, and familiar routes. Fence lines, garden borders, and openings between yards often act like highways. If the goal is to catch a specific visitor, aim the camera at a feeding spot or water source. For general activity, focus on areas where movement naturally funnels.
Height should match the animal you expect. Smaller animals like hedgehogs require a low angle, close to the ground, while larger animals need a higher position. Keep distance in mind too. Some cameras struggle with subjects closer than about three feet, which can lead to overexposed night footage.
For direction, facing north or south helps avoid glare during the day. East or west can create bright washouts when the sun rises or sets.
Set It Up So It Works Overnight
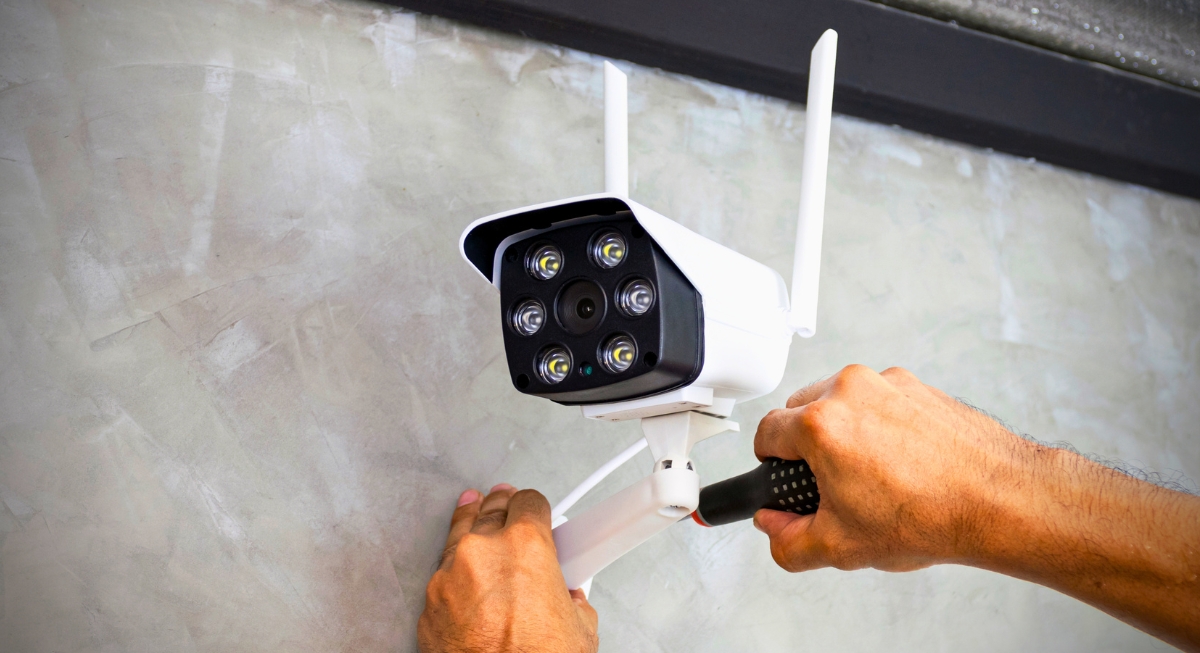
Image via Canva/wattanaphob kappagos Images
A few small adjustments can make a big difference. Clearing away moving leaves or grass in front of the lens prevents constant false triggers. Even light wind can fill your memory card with empty clips.
Most setups benefit from short video bursts. Around 10 to 15 seconds works well, paired with a brief delay between triggers. This keeps the camera from recording nonstop and draining the battery too quickly. When thinking about storage, an SD card with at least 8GB of space gives the camera room to capture activity without cutting off new footage.
Check, Adjust, Repeat
The first setup hardly ever delivers perfect results. Testing the angle and framing before leaving the camera overnight saves time later. A quick review of the next morning shows if the camera is pointed where it should be or if something blocked the view. Regular checks also help catch simple issues, such as full memory cards or low batteries. It takes a few rounds of adjusting position and settings to dial things in.